Intro to Data Science
Quarto Analogy
![]()

![]()
Quarto Part 3: Code Chunks
Let’s look at the structure of an example code chunk

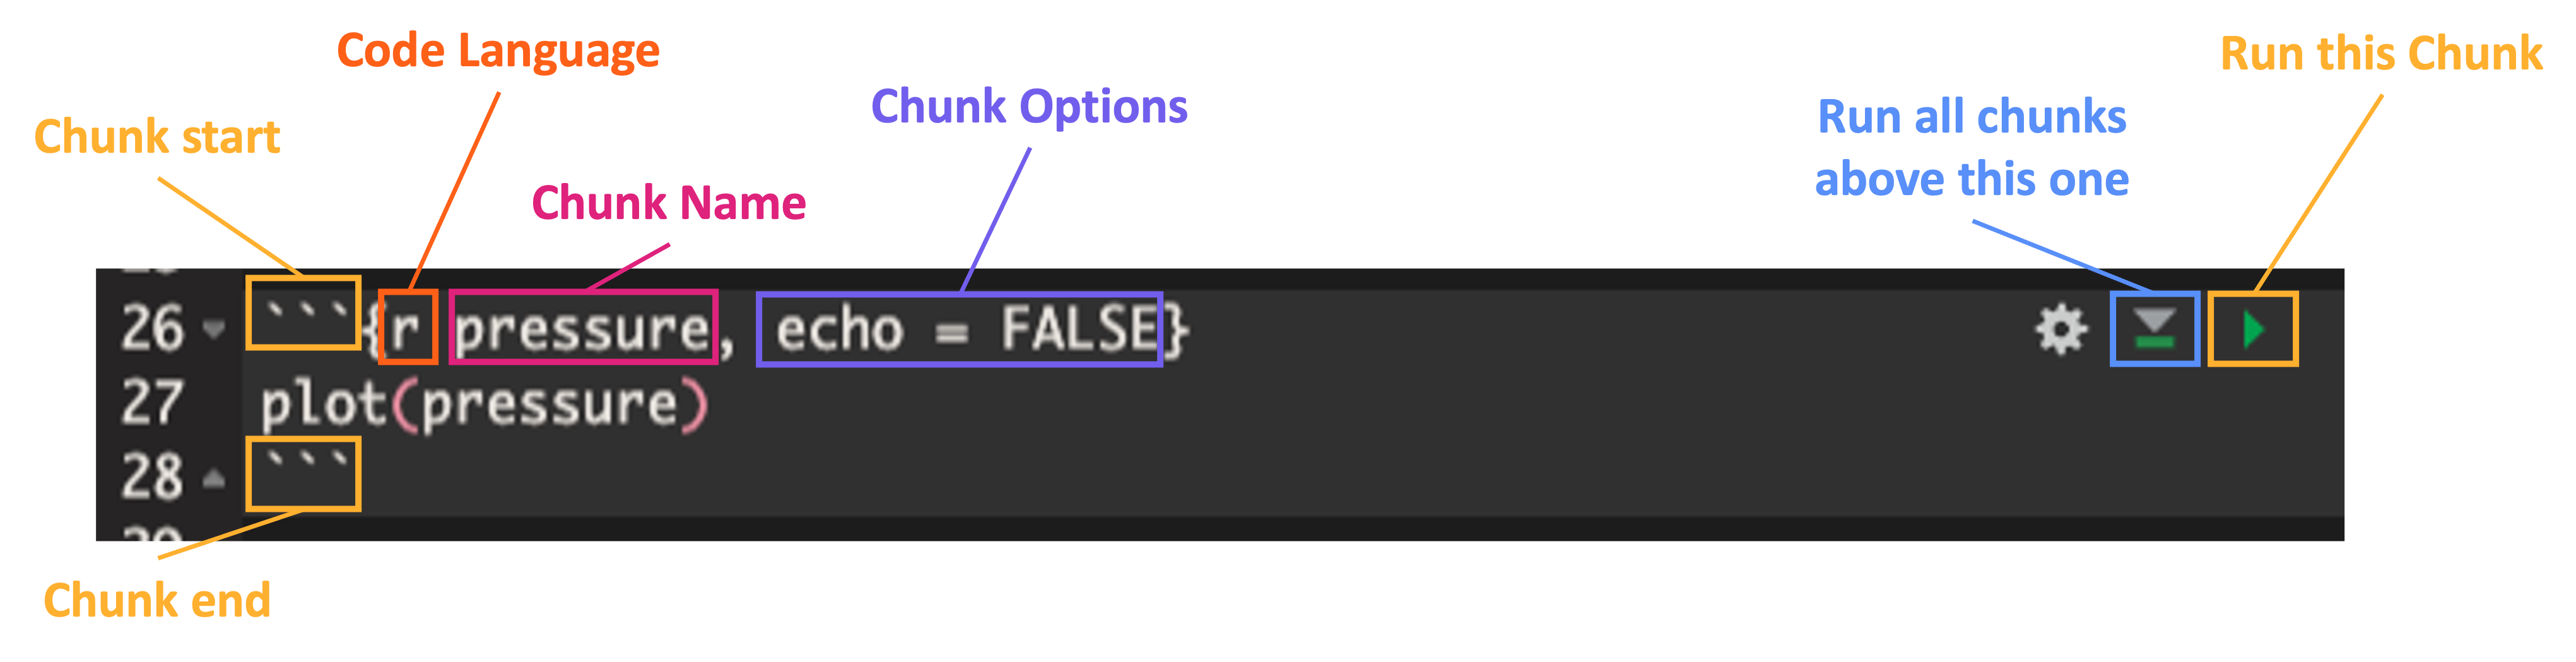
Note that chunk start must be formatted like:
- ```{language chunk_name, option_1, option_2, ...}Code Chunks Options
Let’s check out three crucial code chunk options!
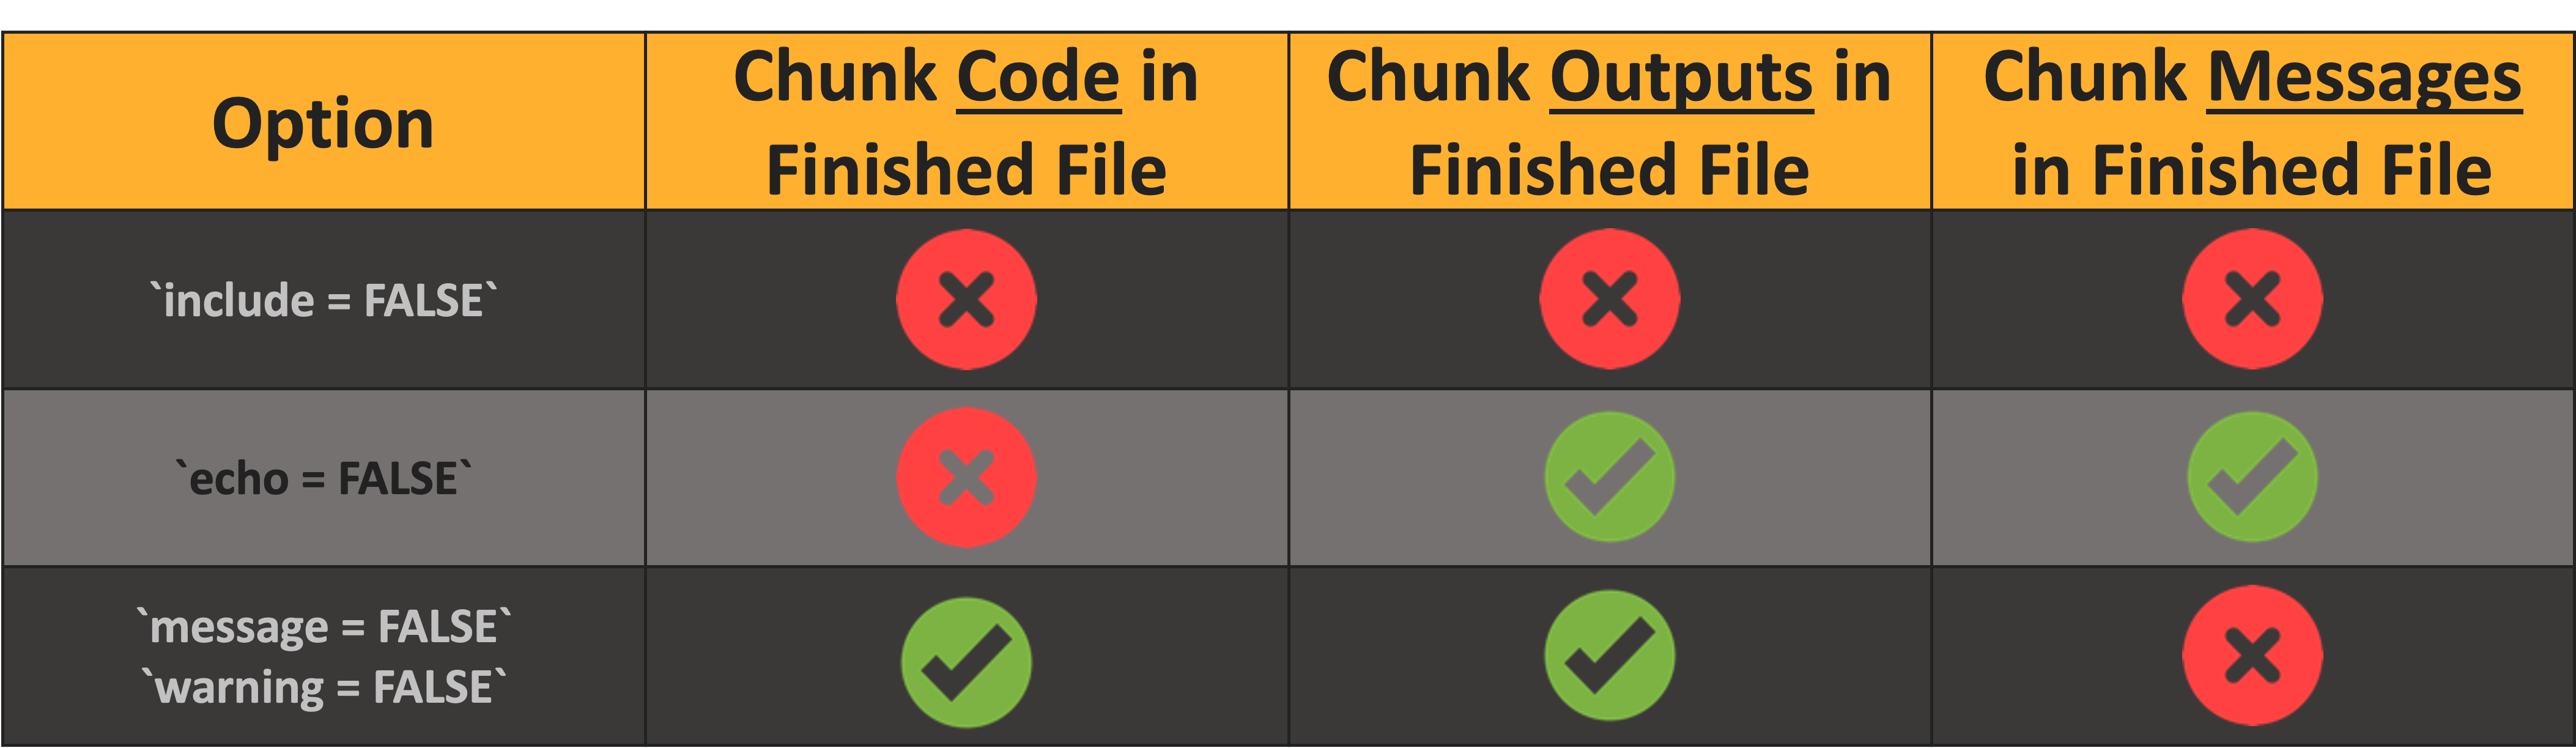
- For a full list of options see here
Practice: Quarto Files
![]()
- Create a new Quarto file!
- File New File Quarto Document…
- In resulting pop-up, skip to bottom and click “OK”
Look at (1) YAML, (2) Plain text, and (3) code chunks
- Take notes on anything that jumps out at you
- Click the “render” button
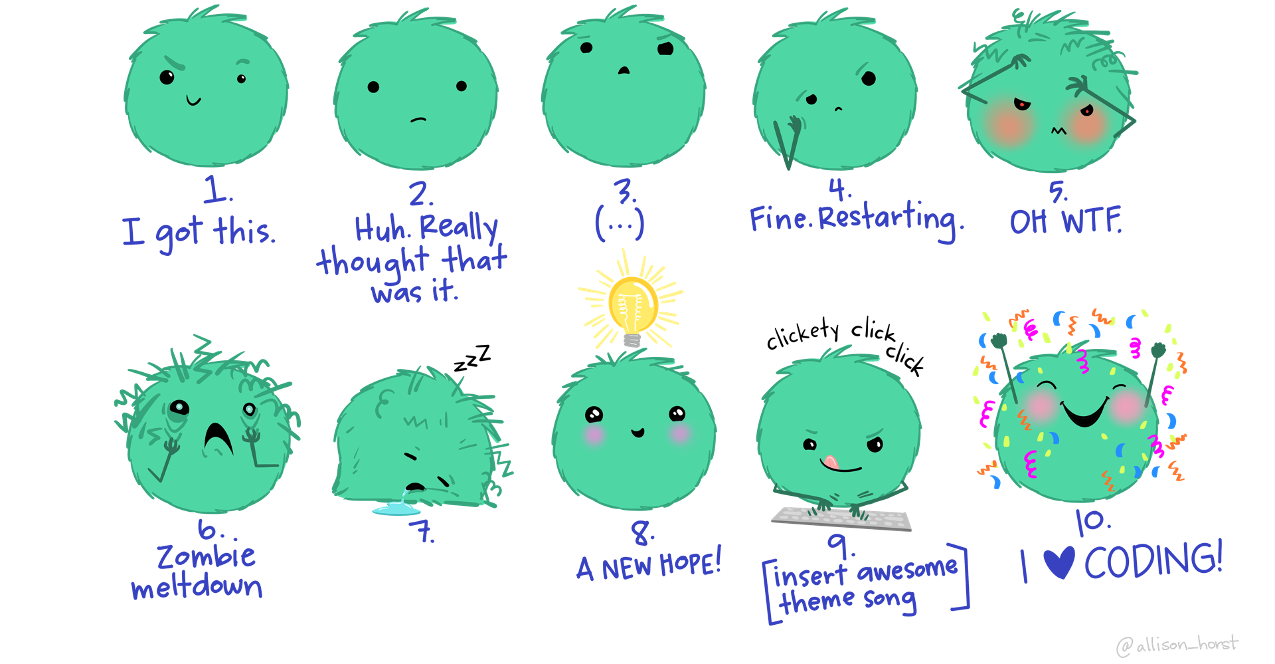
Temperature Check
How are you Feeling?
Practice: Load Data

- Now, use
read.csvto read “minnow.csv” into R- Remember to assign it to an object!
- First thing after reading in data: check structure!
- Can use
strordplyr::glimpse
- Can use
- What do you see?
Tidyverse Background
- Ecosystem of inter-related packages & functions
- Very human-readable
- Extremely popular & commonly-used


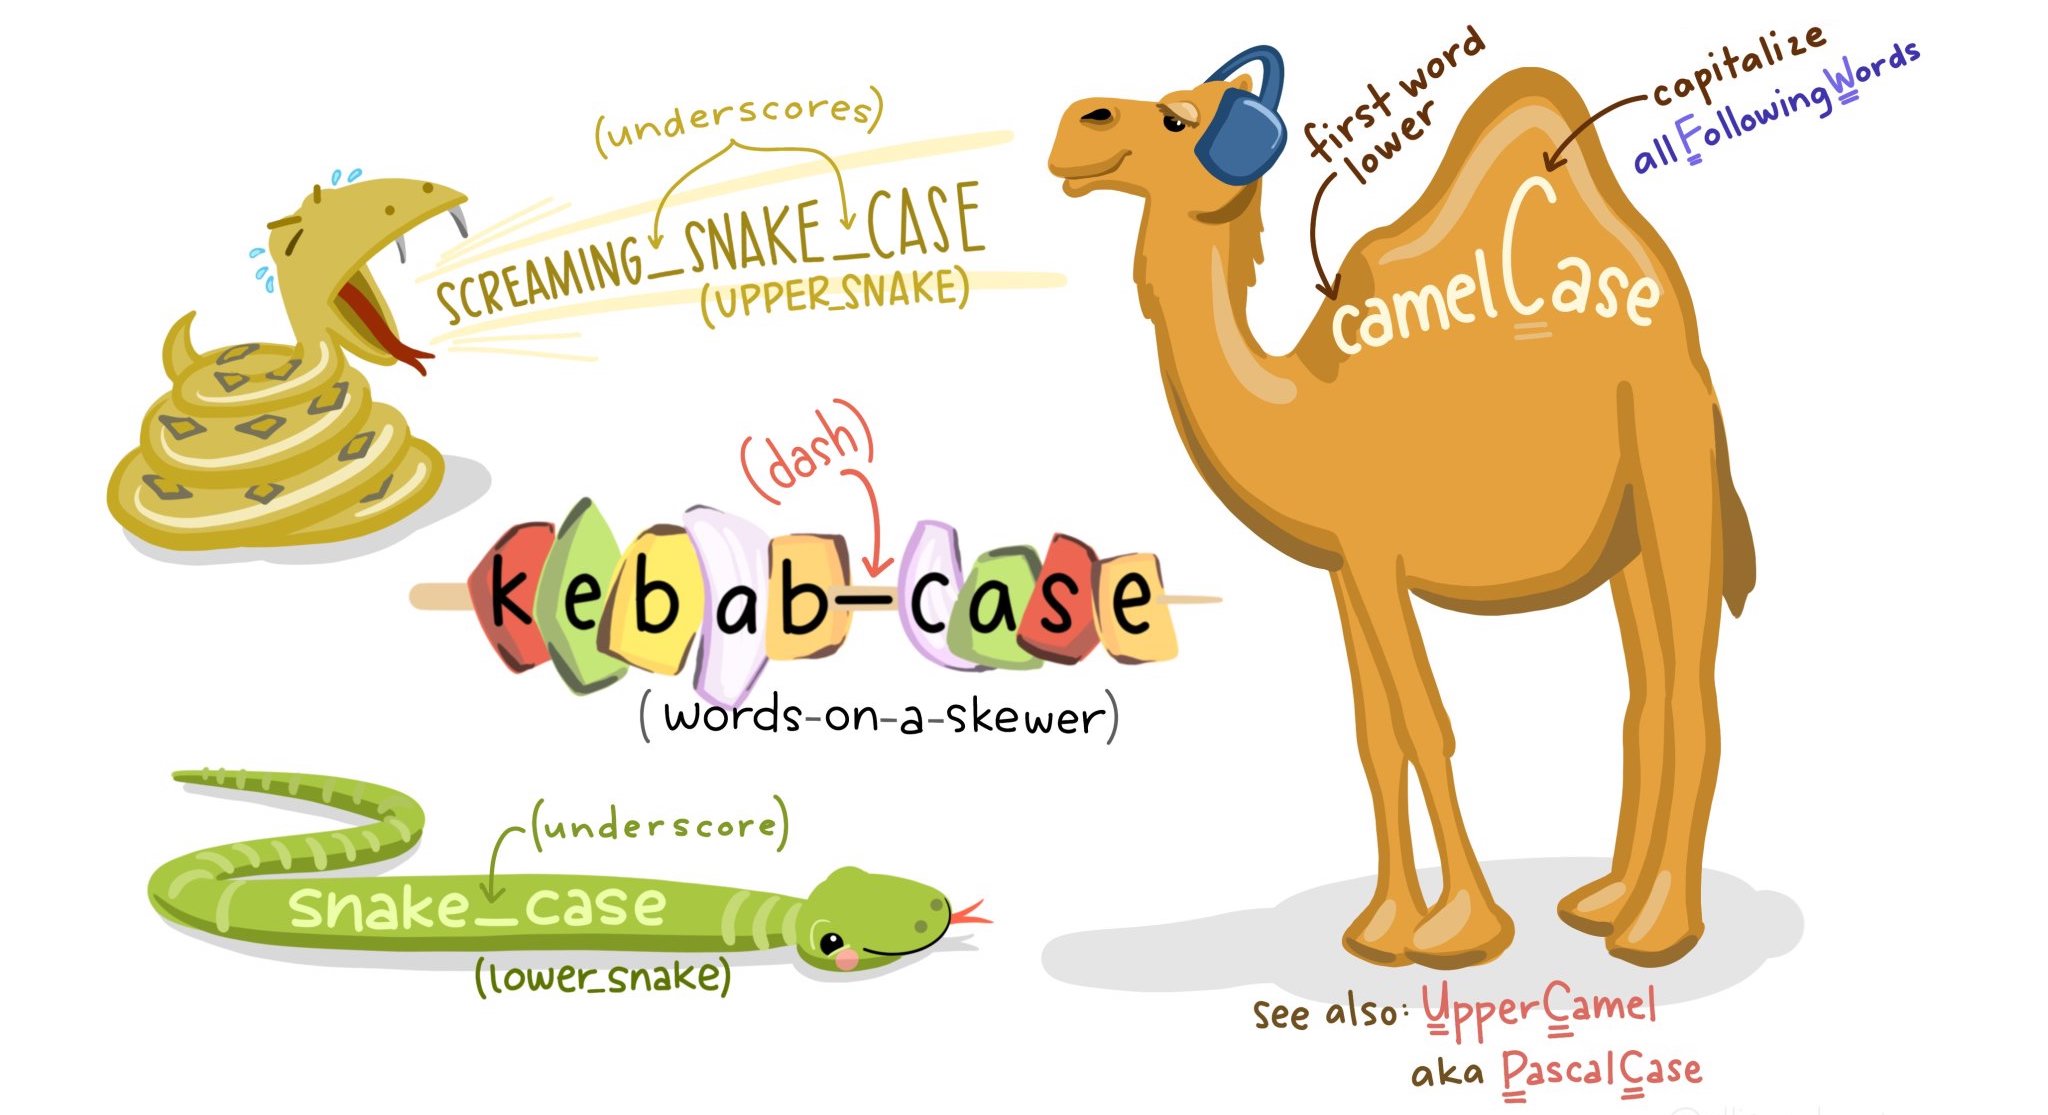
Column Naming Aside
- Avoid spaces or hyphens (
-) in column names- Programming languages don’t like these characters in column names
Practice: Wrangling with dplyr
- Filter the minnow data to only cases where the species is Stoneroller or Chub
- For that subset, make new columns where river depth and fish nest diameter are in meters
- Next, keep only the transect, species, diameter in meters, and depth in meters columns
- There are two ways of doing this; can you identify them both?
- Check your work! What are the dimensions of the final data object?
- Should be 14 rows and 4 columns
Temperature Check
How are you Feeling?